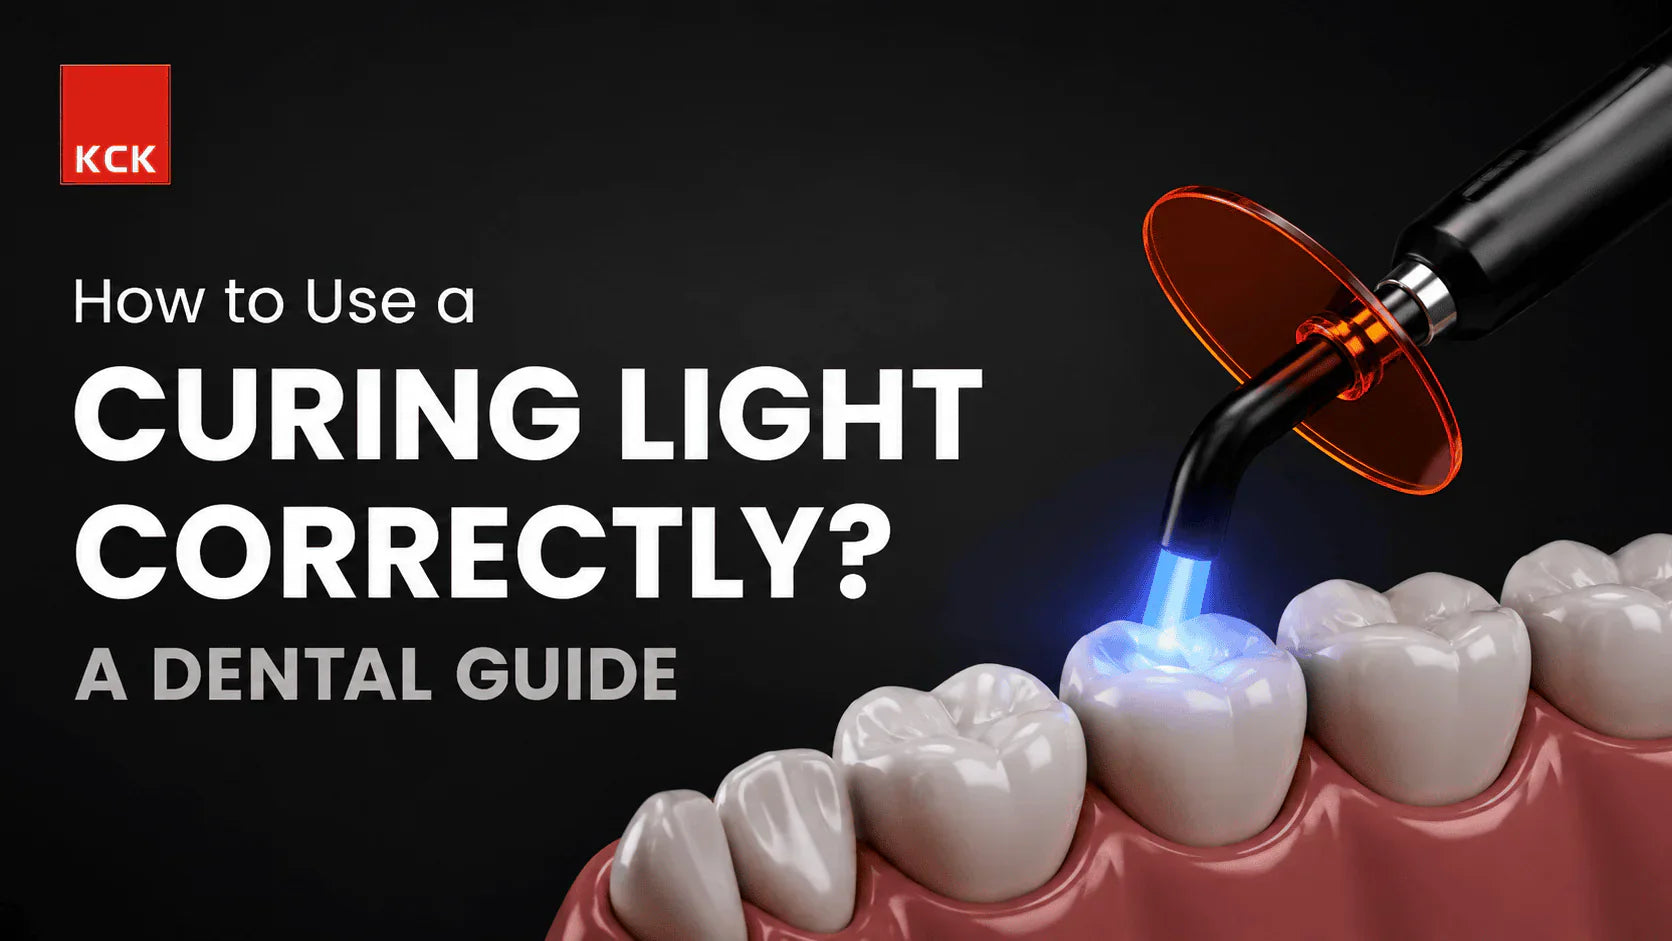
Dental curing light is an essential handheld device used in modern dentistry. It emits a specific wavelength of blue light that rapidly hardens or “cures” light-sensitive dental materials such as composite fillings, sealants, and bonding agents. This process transforms the material from a soft, moldable state into a strong and durable structure within seconds.
In this blog, our dentist explains everything you need to know about dental curing lights, including:
-
Types of curing lights available in the market
-
How dental curing lights work
-
Benefits of using curing lights in dentistry
-
Step-by-step guide on how to use a curing light correctly
-
Correct and incorrect curing techniques
-
Common mistakes to avoid
-
Practical tips for dentists and dental practitioners
Read this blog completely to gain a detailed understanding of dental curing lights and learn how to achieve effective and long-lasting dental restorations.
What Is a Dental Curing Light?
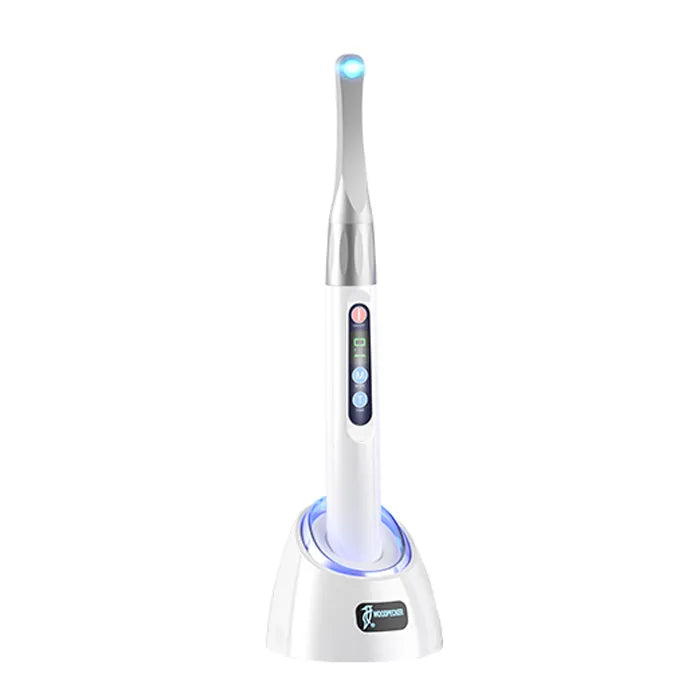
A dental curing light is a handheld medical device that emits a high-intensity blue light. Dentists use it to harden dental materials such as composite fillings, bonding agents, and sealants.
These materials contain special light-sensitive chemicals called photoinitiators. When the blue light reaches the material, it starts a chemical reaction called photopolymerization. This reaction quickly changes the material from a soft, moldable form into a hard and durable structure.
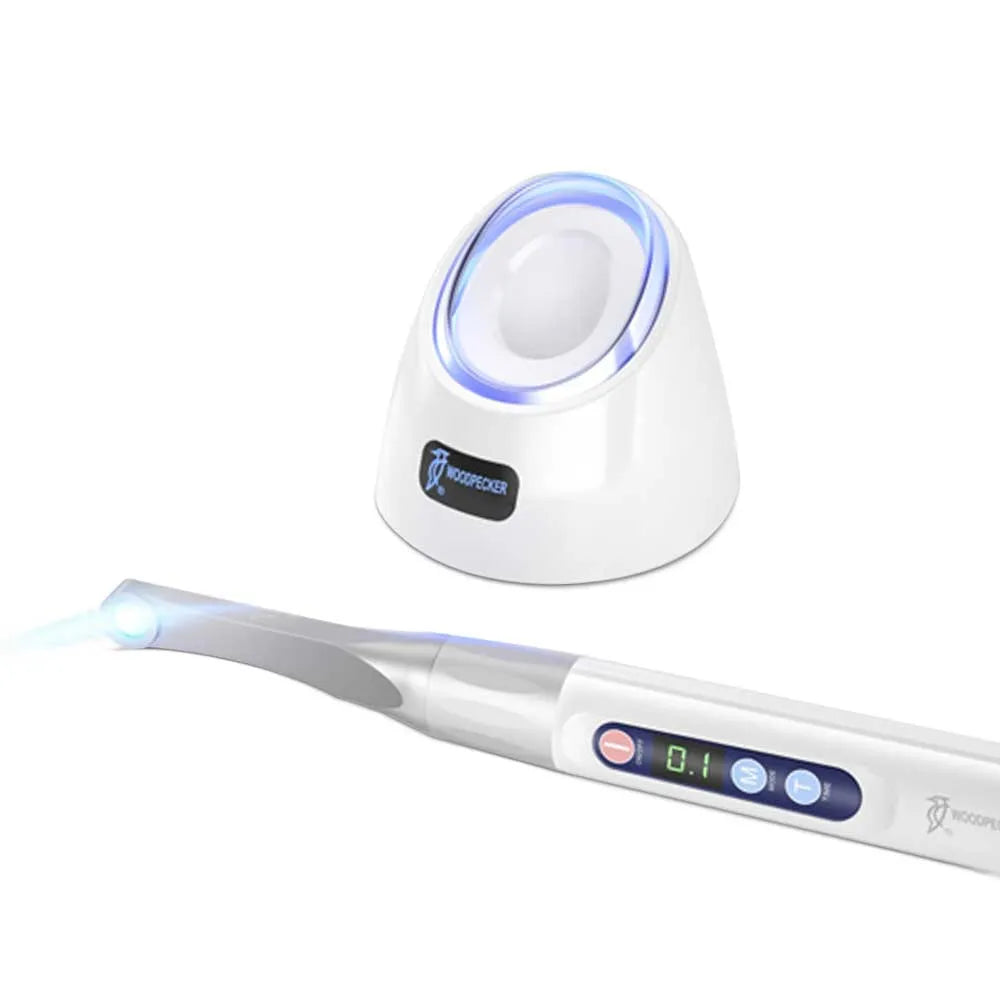
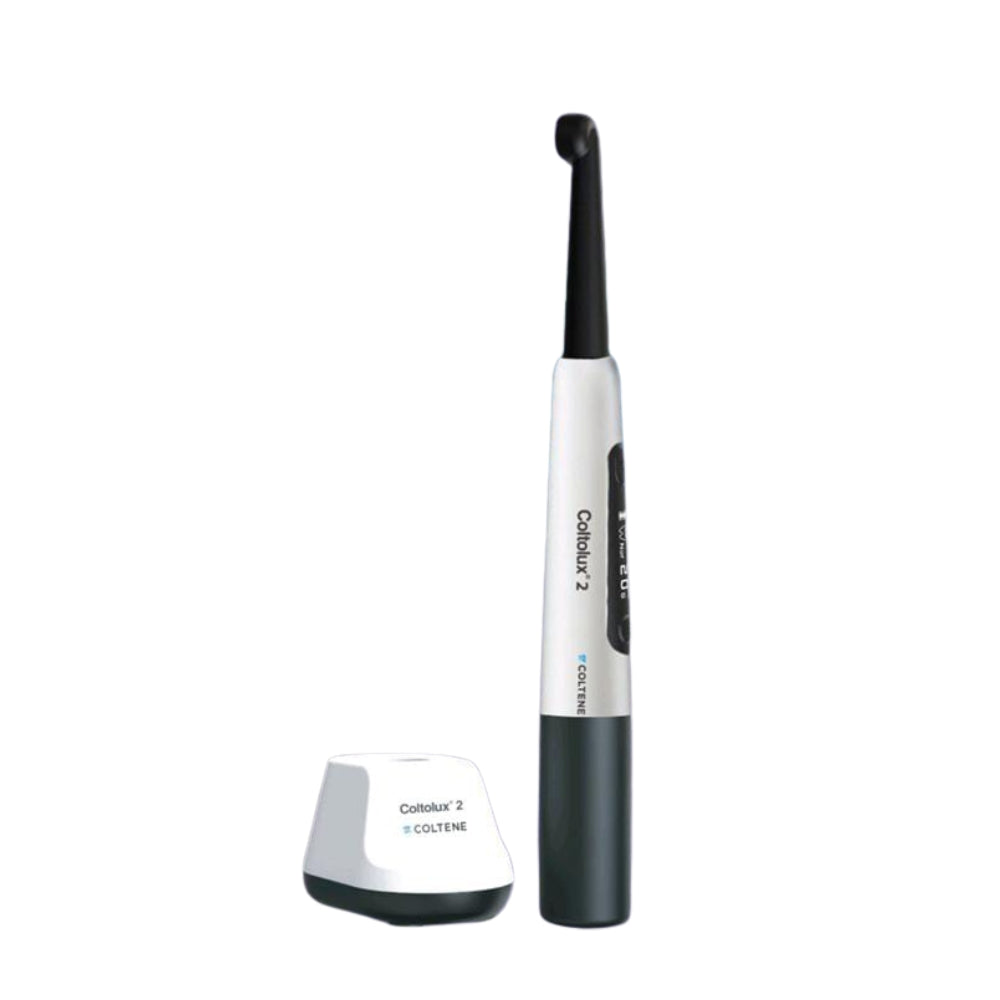
Older curing lights used halogen or UV technology. Modern curing lights mainly use high-efficiency cordless LED (Light Emitting Diode) technology. LED curing lights produce less heat, work faster, and focus on the exact blue wavelength needed to cure dental materials effectively.
Common Applications of Dental Curing Lights
-
Composite restorations
The composite filling is soft at first so the dentist can shape it properly. The curing light then hardens it into a strong tooth-colored restoration. -
Bonding agents
Dentists use curing lights to activate bonding materials that help restorations stick firmly to the tooth surface. -
Pit and fissure sealants
The sealant starts as a liquid material and becomes a protective hard layer after curing. -
Orthodontic bracket bonding
The curing light helps secure the orthodontic brace brackets firmly onto the teeth by hardening the adhesive quickly.
Types of Dental Curing Lights
|
Type |
Features |
Common Use |
|
LED Curing Light |
Uses blue LED light, is energy-efficient, cordless, lightweight, produces less heat, and has a fast curing time |
Commonly used in modern dental clinics for composite fillings, bonding, and sealants |
|
Halogen Curing Light |
Uses a halogen bulb, has a broader light spectrum, generates more heat, requires regular bulb replacement |
Older dental practices and general restorative procedures |
|
Plasma Arc Curing Light |
Produces very high-intensity light, cures materials in a few seconds, and is more expensive |
Quick-curing procedures and advanced restorative dentistry |
|
Laser Curing Light |
Uses a concentrated laser beam, highly precise, with limited use in general dentistry |
Specialized dental procedures and research applications |
How Does a Dental Curing Light Work?
Dental curing lights emit a specific wavelength of blue light that activates special chemicals called photoinitiators inside dental materials. This process starts a chemical reaction known as polymerization, which changes the material from soft and moldable into a hard and durable restoration.
Simple Working Process
-
Step 1: The dentist places the soft dental material on the tooth.
-
Step 2: The curing light emits high-intensity blue light from the curing tip.
-
Step 3: The blue light activates the photoinitiators present inside the material.
-
Step 4: A chemical reaction called polymerization begins.
-
Step 5: The composite material quickly hardens and becomes strong within seconds.
-
Step 6: The dentist checks the restoration and completes the procedure.
Curing Light: Components & Functions
|
Component |
Function |
|
Blue LED Light |
Produces high-intensity blue light needed to cure dental materials |
|
Photoinitiator |
A light-sensitive chemical inside the material that starts the hardening reaction when exposed to blue light |
|
Composite Resin |
The soft dental material that becomes hard and durable after curing |
|
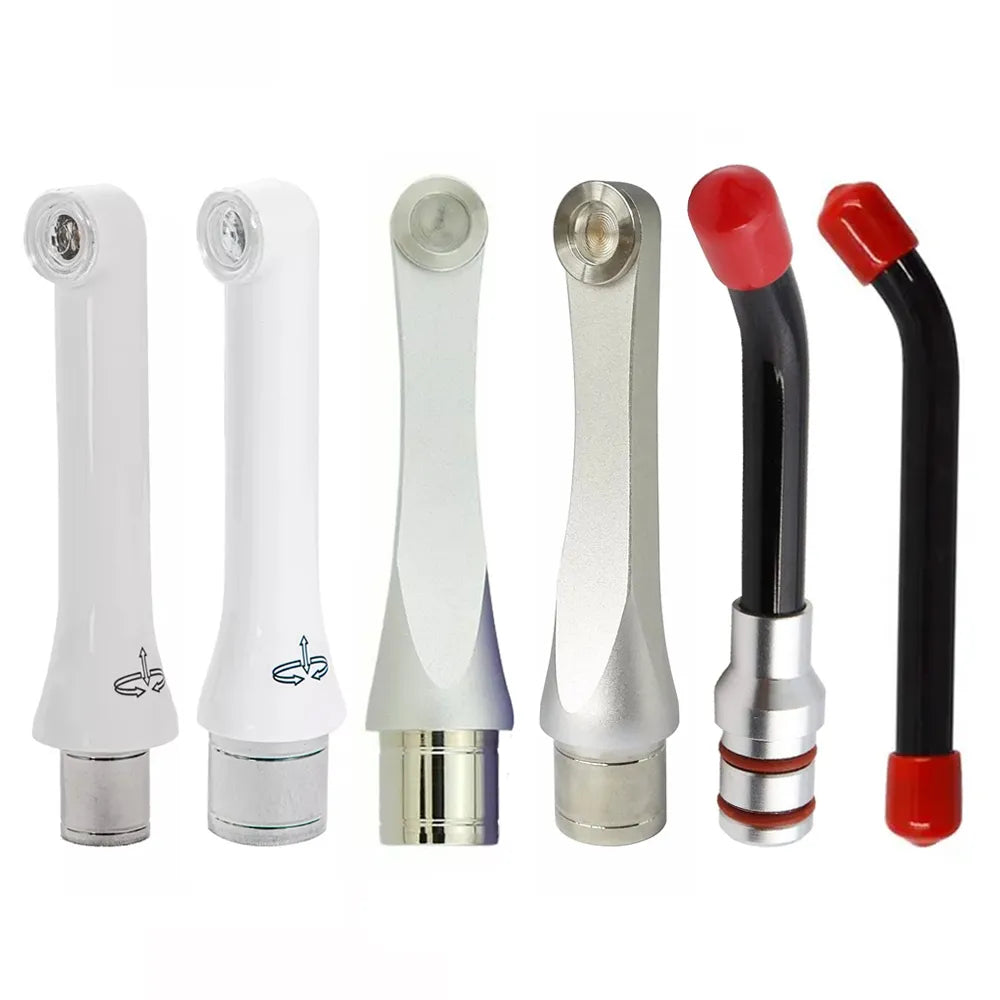
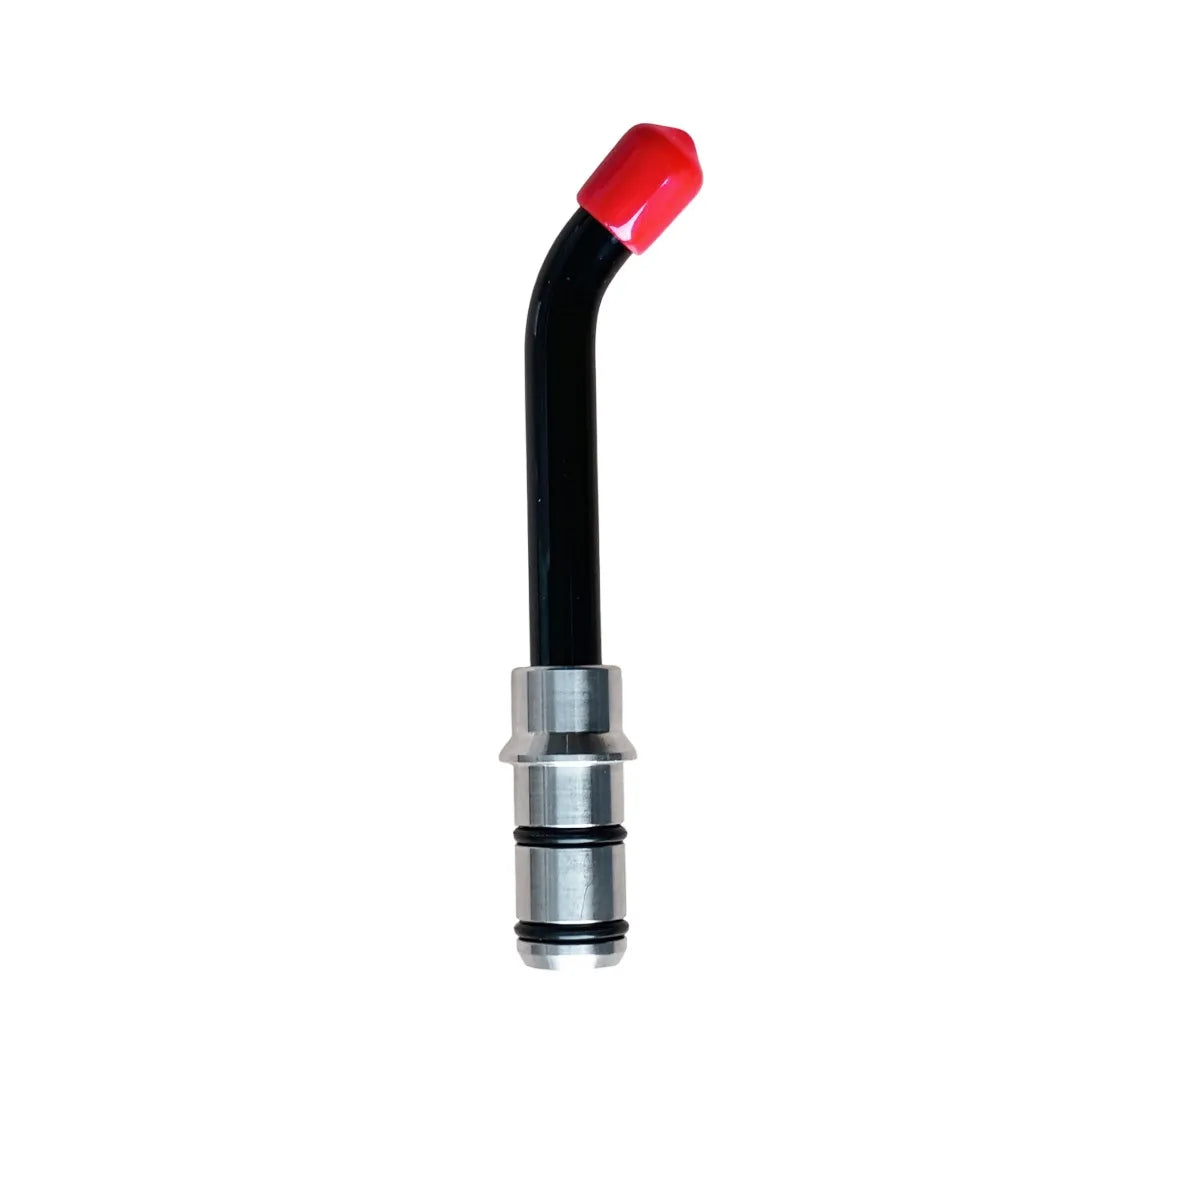
Curing Tip |
Directs the blue light accurately onto the dental material for effective curing |
What are the Benefits of Dental Curing Lights?
|
Benefit |
Explanation |
|
Faster Procedures |
Dental curing lights harden materials within seconds, which helps dentists complete treatments more quickly. |
|
Strong Restorations |
Proper curing makes fillings and restorations hard, durable, and long-lasting. |
|
Better Aesthetics |
Curing lights help dentists create smooth, natural-looking tooth-colored restorations. |
|
Improved Bonding |
The curing process strengthens the bond between the dental material and the tooth surface. |
How to Use a Dental Curing Light Correctly?
-
Step 1: Clean and prepare the tooth surface.
-
Step 2: Apply the composite resin or bonding material.
-
Step 3: Position the curing tip close to the material.
-
Step 4: Keep the curing light steady and at the correct angle.
-
Step 5: Activate the curing light for the recommended curing time.
-
Step 6: Check whether the material has fully hardened.
-
Step 7: Finish and polish the restoration if needed.

Correct vs Incorrect Curing Technique
|
Correct Technique |
Incorrect Technique |
|
Keep the curing tip close to the material |
Hold the curing tip too far away |
|
Maintain a steady hand during curing |
Move the curing light during curing |
|
Use the recommended curing time |
Cure for too little time |
|
Position the light at the correct angle |
Cure from an improper angle |
|
Clean the curing tip regularly |
Use a dirty or damaged curing tip |
|
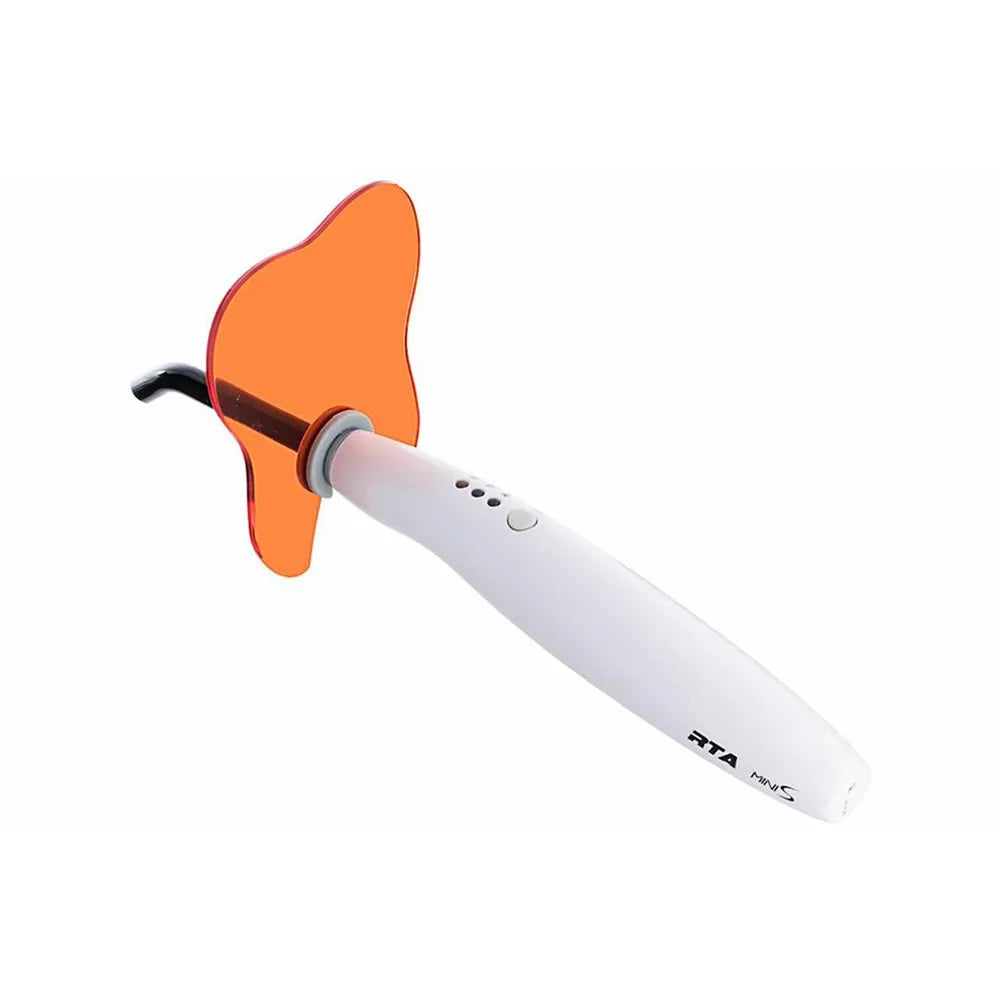
Wear protective eye shields |
Look directly at the blue light |
|
Cure each layer properly |
Apply thick layers without proper curing |
Recommended Curing Distance and Time
|
Material Type |
Recommended Time |
Suggested Distance |
|
Composite Resin |
20–40 seconds |
1–2 mm from the surface |
|
Bonding Agent |
10–20 seconds |
As close as possible without touching |
|
Sealants |
20–30 seconds |
1–2 mm from the material |
|
Orthodontic Adhesives |
10–20 seconds per bracket |
Close to the bracket surface |
5 Simple Maintenance Tips for Dental Curing Lights
- Clean curing tip regularly: It ensures proper light output and prevents blockage or reduced curing efficiency.
- Check battery performance: It helps maintain consistent power and avoids sudden device failure during procedures.
- Test light intensity: It ensures the curing light is strong enough for proper and complete polymerization.
- Avoid dropping the device: It prevents internal damage and keeps the device accurate and long-lasting.
- Use protective shields: It protects the dentist’s eyes and ensures safe operation during curing procedures.
How to Check if a Dental Curing Light Is Working Properly?
To check whether a dental curing light is working properly, you should look for clear signs of good performance and also use simple testing methods to confirm its effectiveness. This helps ensure safe and complete curing during dental procedures.
Signs of Proper Function (What You Should Look For)
- You should see a consistent bright blue light every time the device is activated
- The curing process should feel stable and reliable during clinical use
- There should be no flickering, dimming, or overheating while the light is working.
Common Testing Methods (How You Can Verify Performance)
- You can use a radiometer to check if the light intensity is within the correct range
- You can perform a clinical test by curing a small sample of composite material
- You should inspect the curing tip regularly to ensure it is clean and not damaged
- You should also monitor the battery condition to make sure the power output remains stable.
Conclusion
The dental curing light is an essential component widely used in modern dental treatments for fast and effective restoration curing. It plays a key role in ensuring strong, durable, and long-lasting clinical results.
If you are looking for high-quality dental curing lights and reliable dental equipment, you can connect with KCK. We offer not only curing lights but also a wide range of dental instruments and equipment for dental professionals and students.
We also support bulk orders and provide doorstep delivery for added convenience. No matter where you are, you can easily reach out to us for your dental equipment needs.
Since 2001, we have been serving and satisfying customers worldwide. With 50+ authorized global partners and a team with 70+ years of combined experience, we focus on quality, reliability, and trust.
Explore KCK Direct and find the right dental tools for your practice or studies.
FAQ’s
-
Why do dentists use dental curing lights?
Dentists use curing lights to quickly harden fillings, sealants, and bonding materials.
-
How close should a curing light be to the tooth?
Keep it about 1–2 mm close to the tooth surface for proper curing.
-
How can I check if a dental curing light is working properly?
Check the bright blue light, no flickering, and test with a radiometer or composite curing.
-
What happens if the composite is not cured properly?
It stays soft, weak, and can cause failure or decay under the filling.
-
Which curing light is commonly used today?
LED curing lights are most commonly used today.
-
Can a low battery affect curing performance?
Yes, a low battery reduces light intensity and weakens curing.
-
What type of curing light is most commonly used today?
LED (Light Emitting Diode) curing light is most commonly used today.