


Why Brackets Debond: 5 Common Bonding Failures and How to Prevent Them
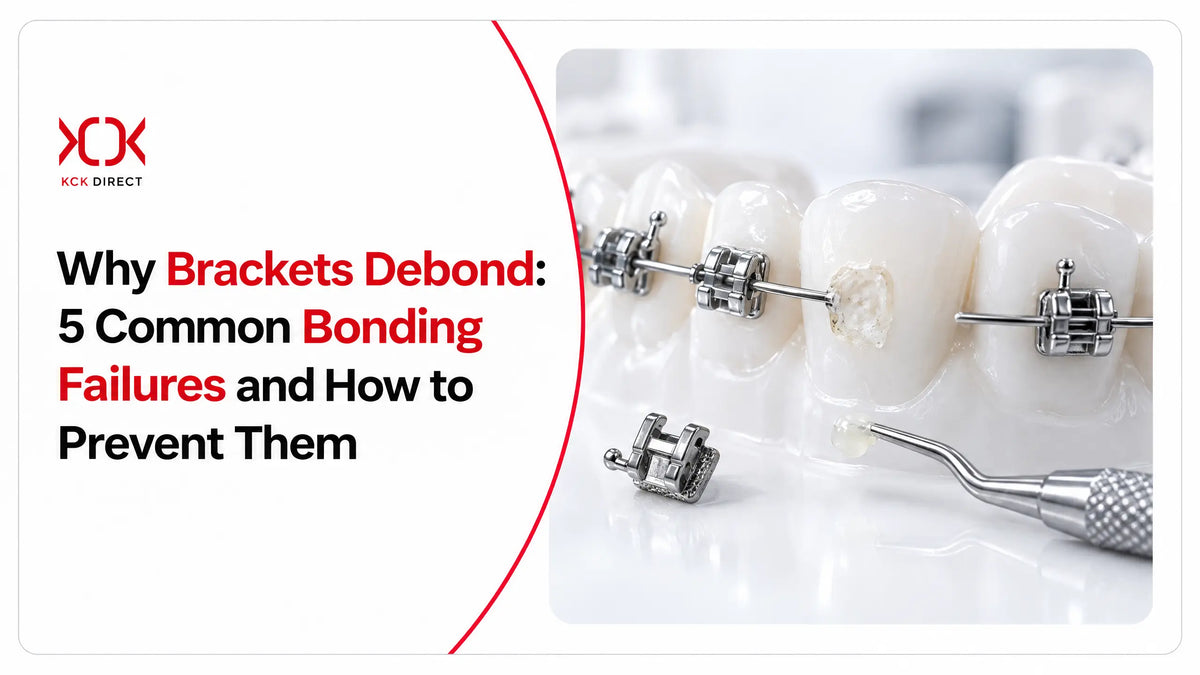
Bracket debonding is a common problem during fixed orthodontic treatment. It happens when a bracket comes loose from the tooth before the planned removal.
This can interrupt treatment, increase chair time and require extra appointments. Repeated bond failures may also increase treatment costs and affect the patient's experience.
In most cases, bracket debonding occurs due to bonding errors, poor moisture control, incorrect material handling or patient-related factors. Identifying the cause helps prevent repeated failures and keeps treatment on track.
This article covers five common bonding failures that lead to accidental bracket debonding. It explains why they happen, how to identify them and what dentists can do to prevent and manage each problem.
What Is Bracket Bond Failure and Why Does It Matter?
Bracket bond failure occurs when an orthodontic bracket separates from the tooth before the planned end of treatment.
This is different from planned debonding, where the orthodontist removes all brackets after completing tooth alignment. Accidental debonding can happen at any stage of fixed orthodontic treatment.
The failure can occur at three different points.
- First, the enamel–adhesive interface may separate, leaving adhesive on the bracket.
- Second, the adhesive itself may break, leaving material on both the tooth and bracket.
-
Third, the adhesive–bracket interface may fail, leaving little or no adhesive on the bracket base.
These patterns help identify where the bond failed. Identifying the failure site is important because each pattern may point to a different cause, such as enamel contamination, poor adhesive curing or incorrect bracket placement.
Understanding the cause helps orthodontists correct the bonding process, reduce repeat failures and avoid unnecessary treatment delays.
What Are the 5 Most Common Causes of Bracket Debonding?
Bracket debonding often results from a few preventable bonding and handling errors.
Understanding these five common causes helps dental professionals identify weak points, improve bonding techniques and maintain reliable bracket retention throughout orthodontic treatment.
1. Moisture and Saliva Contamination
Moisture contamination is one of the common causes of orthodontic bracket bond failure. Saliva, blood or water can affect the etched enamel surface before the orthodontist places the bracket.
After etching, enamel develops tiny pores that help the primer and adhesive form a strong bond. Saliva contamination can cover these pores with a thin protein layer. This prevents the primer from penetrating the enamel properly and weakens bracket retention.
How to prevent moisture contamination:
- Use proper isolation: Place cheek retractors and cotton rolls to keep the working area dry. Use a rubber dam when suitable for better moisture control.
- Control saliva: Use a high-volume suction or saliva ejector. Keep the tongue and cheeks away from the bonding area.
- Check the etched surface: After rinsing and drying, look for the typical frosty white appearance of etched enamel. A wet or contaminated surface may lose this appearance.
- Re-etch after contamination: If saliva touches the etched enamel before primer application, rinse the area thoroughly, dry it and repeat the etching process according to the adhesive manufacturer's instructions.
- Follow primer instructions: Apply the correct amount of primer and avoid touching the prepared enamel with fingers or contaminated instruments.
Maintain moisture control throughout bonding to achieve a reliable bracket–tooth connection.
2. Inadequate Enamel Preparation
Proper enamel preparation is essential for strong orthodontic bracket bonding. Plaque, food debris, pellicle and surface contaminants can prevent the adhesive from attaching properly.
Before bonding, clean the tooth surface with an oil-free pumice paste. Rinse thoroughly to remove all residue.
Follow the manufacturer's recommended etching time, usually around 15–30 seconds for conventional phosphoric acid etching. Rinse well and dry the enamel with clean, oil-free air.
Properly etched enamel should show a uniform frosted white appearance. A patchy or shiny surface may indicate incomplete etching or contamination.
Special surfaces need extra attention:
- Fluorosed enamel: Increased mineralisation and surface changes may affect etching. Assess the enamel and follow an appropriate bonding protocol.
- Crowns: Porcelain and metal crowns need surface-specific preparation and suitable primers.
- Composite restorations: Roughen the bonding area when indicated and use a compatible bonding agent.
3. Incorrect Primer or Adhesive Application
Incorrect primer or adhesive application can weaken the bond between the bracket and tooth. Applying too much or too little primer can affect adhesion. A thick primer layer may prevent proper bracket seating.
Too little primer may leave parts of the etched enamel uncovered. Follow the manufacturer's instructions and apply a thin, even layer.
Use the recommended amount of adhesive on the bracket base. Avoid overloading the bracket, as excess material can create uneven seating and increase flash around its edges.
How to prevent application errors:
- Control primer thickness: Apply a thin, uniform coat. Air-thin it gently when the product instructions require it.
- Use the correct adhesive quantity: Cover the bracket base evenly without adding excessive material.
- Seat the bracket fully: Press the bracket firmly against the tooth to ensure proper contact between the base and adhesive.
- Remove excess flash: Clean excess adhesive around the bracket before curing. This also reduces plaque-retentive areas.
- Check material quality: Check expiry dates and storage conditions. Heat, light and improper storage can affect adhesive performance.
Inadequate Light Curing
Light curing hardens the orthodontic adhesive and helps secure the bracket to the tooth. Inadequate curing leaves the adhesive partially set.
This reduces bond strength and increases the risk of early bracket failure. Several factors can affect curing. These include exposure time, light intensity, tip distance and light angle.
How to prevent inadequate curing:
- Follow the recommended curing time: Check the adhesive manufacturer's instructions. Different adhesives may need different exposure times.
- Maintain proper light intensity: Use a curing light with adequate output for the adhesive system. Low intensity may result in incomplete polymerisation.
- Position the light correctly: Keep the light tip close to the bracket. Direct it towards the bonding area and avoid angles that block light exposure.
- Cure metal brackets from both sides: Metal blocks light from passing through the bracket base. Direct the curing light towards the mesial and distal sides to improve adhesive curing.
- Check light output regularly: Use a radiometer to monitor the curing light's intensity. Clean the light tip and check for damage.
5. Occlusal Interference and Patient Factors
Biting forces can cause brackets to loosen or break away from teeth. This often happens when the upper teeth hit the brackets on the lower arch during chewing or biting. Lower posterior brackets face a higher risk, especially in patients with deep bites. Direct contact puts repeated pressure on the bracket and weakens the bond over time.
How to prevent occlusal and patient-related failures:
- Check occlusal contacts: Before completing bonding, ask the patient to bite down and check whether the opposing teeth hit any brackets. Pay special attention to lower molars and premolars.
- Consider bite raising: In deep-bite cases, use bite turbos or bite blocks when clinically appropriate. These help prevent direct contact between opposing teeth and brackets.
- Advise on food choices: Ask patients to avoid hard foods such as nuts, ice and hard candies. Sticky foods such as chewing gum and toffees can also pull brackets away from teeth.
- Address harmful habits: Discourage nail biting, pen chewing and biting hard objects.
- Give clear aftercare instructions: Explain what foods to avoid, how to protect the braces and what to do if a bracket becomes loose.

How Can You Tell Why a Bracket Debonded?
The pattern of adhesive left on the tooth or bracket base can help identify the likely site of bond failure.
Check the failed bracket and tooth surface before rebonding. Also consider when the failure occurred and whether it affects one tooth or several teeth. Use these observations to guide further investigation.
|
Observation / Clinical Sign |
Likely Cause to Investigate |
|
Clean enamel with most adhesive remaining on the bracket base: The adhesive may have separated from the enamel. |
Poor enamel preparation, saliva contamination, inadequate etching or primer application. |
|
Adhesive remains on the tooth, but the bracket base looks clean: The failure may have occurred at the adhesive–bracket interface. |
Bracket base contamination, poor adhesive contact, or problems with bracket base design and retention. |
|
Adhesive remains on both surfaces, with a visible break within the material: The adhesive itself may have fractured. |
Weak adhesive, incorrect material handling, inadequate curing, or excessive biting forces. |
|
Repeated failures on the same teeth, especially lower posterior teeth: Check whether opposing teeth hit the brackets during biting. |
Occlusal interference, deep bite, or repeated chewing pressure. |
|
Several brackets fail shortly after bonding: Look for a common problem in the bonding procedure. |
Moisture contamination, incorrect etching, poor primer application, insufficient curing time, or low curing light output. |
Important: These patterns provide clues, not a definite diagnosis. Examine the enamel, bracket base, adhesive residue and patient's bite before deciding how to correct the problem.
How Should You Rebond a Failed Bracket?
Before rebonding a failed bracket, identify why it came loose. This helps prevent the same problem from happening again. Follow these steps:
- Remove old adhesive: Clean the remaining adhesive from the enamel. Use suitable instruments and avoid damaging the tooth surface.
- Prepare the tooth again: Clean the surface, etch it if required, rinse and dry it. Follow the bonding system’s instructions.
- Check the bracket: Inspect the failed bracket for damage or adhesive residue. Use a new bracket or recondition the old one if the manufacturer’s instructions and clinical protocol allow it.
- Check the position: Place the bracket in the correct position. Make sure it matches the treatment plan.
- Fix the original problem: Improve isolation if moisture caused the failure. Check the bite if the bracket came loose due to contact with an opposing tooth.
Use suitable orthodontic brackets and follow the recommended bonding procedure for reliable retention.
Bracket Bonding Failure Prevention Checklist
Use this checklist before and after bonding to reduce the risk of bracket failure.
- Isolation: Keep the tooth dry and free from saliva or blood.
- Prophylaxis: Clean the tooth and remove plaque or debris.
- Etch and dry: Etch the enamel as instructed. Rinse and dry it properly.
- Primer: Apply a thin, even layer.
- Adhesive quantity: Use the right amount of adhesive.
- Bracket seating: Place the bracket correctly and press it firmly.
- Flash removal: Remove excess adhesive around the bracket.
- Curing: Follow the recommended curing time and keep the light at the correct angle.
- Occlusion: Check for contact with opposing teeth.
- Patient instructions: Explain which foods and habits to avoid.
Conclusion
Bracket debonding is common during orthodontic treatment, but good bonding practices can reduce the risk. Keep the tooth clean and dry. Follow the correct steps for etching, priming, adhesive application and light curing. Check the bracket position and make sure the patient’s bite does not put extra pressure on it. When a bracket comes loose, examine the adhesive left on the tooth and bracket. This can help identify the likely cause and prevent repeat failures.
Using suitable materials also matters. KCK Direct supplies orthodontic brackets and bonding materials for dental professionals. Choosing the right products and following the recommended bonding procedure help support reliable treatment.
FAQ’s
Can a debonded bracket be reused?
Yes, a debonded bracket may be reused if it is not damaged. However, you must remove the old adhesive and prepare the bracket base properly. Follow the manufacturer’s instructions for reconditioning. Replace the bracket if it is bent, damaged or difficult to clean.
Does bracket type or base design affect bond strength?
Yes. Bracket material and base design can affect how well the adhesive holds. Mesh bases and other retention features help the adhesive grip the bracket. The bonding technique and enamel condition also play an important role.
Do self-etching primers reduce bond failures?
Self-etching primers combine enamel conditioning and priming in one step. They may simplify bonding and reduce technique-sensitive steps. However, they do not prevent every bond failure. Moisture control, correct application and proper curing still matter.
How soon after bonding can patients eat normally?
Patients should follow their orthodontist’s advice. Many light-cured adhesives set during the bonding procedure, but patients should avoid hard, crunchy and sticky foods. These foods can damage brackets even after the adhesive has cured.


Last Chance Deals


Last Chance Deals


Last Chance Deals


Rs. 2,600.00
Rs. 3,400.00
24% Off

Last Chance Deals


Last Chance Deals


